Ready to turn a snowy hill into your personal high-speed race track?
Prompted by A NerdSip Learner
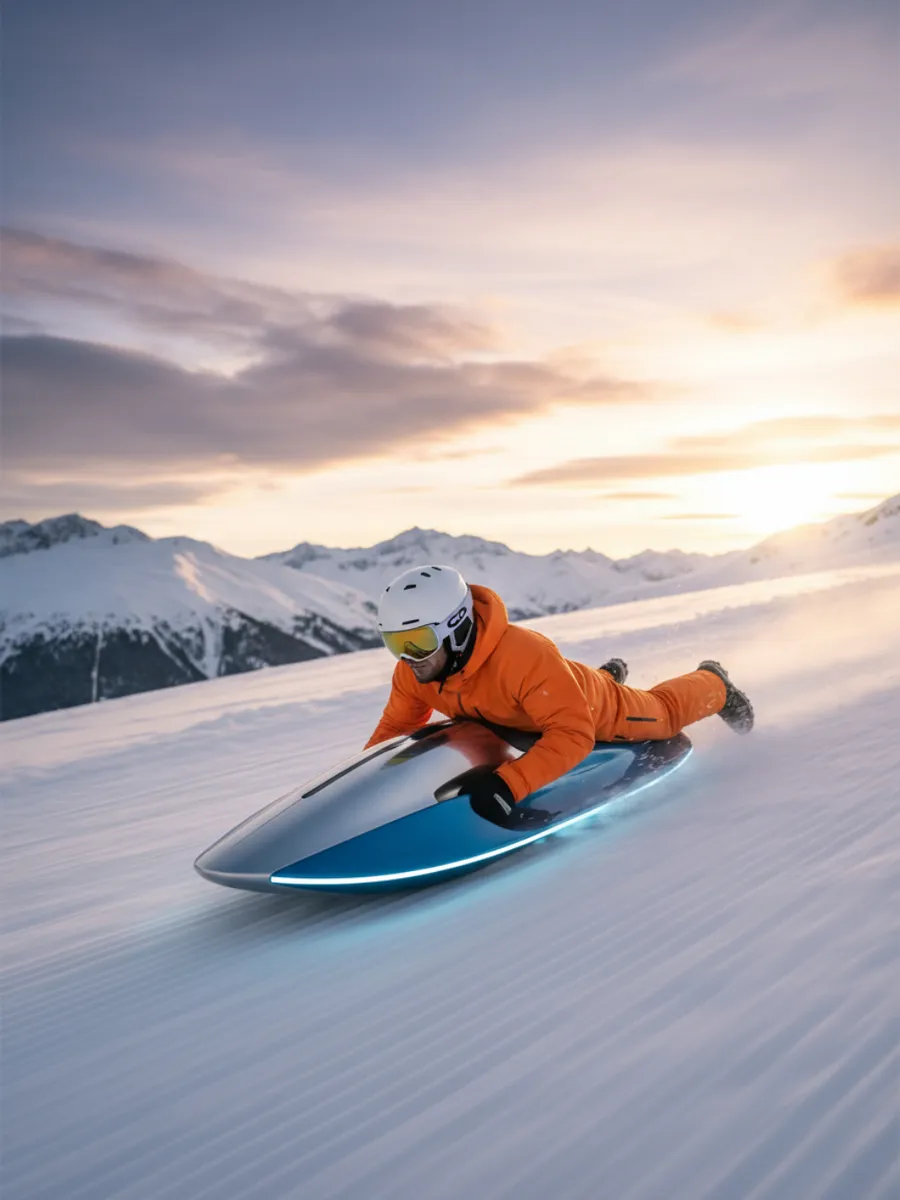
Master safe and fast downhill sledding techniques.
Before you hit the slopes, you need to pick the right gear. Not all sleds are created equal! Plastic saucers are famous for high speeds and unpredictable spins, making them a thrill-seeker's favorite. If you want more control, a toboggan or a classic runner sled with a steering bar might be your best bet for navigating straight paths.
Beyond the sled, your outfit is your armor. Since you'll be sitting in cold, wet snow, waterproof pants are a must-have. Layering is key: start with a moisture-wicking base, add a fleece for warmth, and top it off with a windproof jacket. Don't forget insulated gloves and sturdy boots—sneakers will get soaked and frozen in minutes!
Finally, think about safety gear. While it might feel overkill for a small hill, wearing a helmet (like a hockey or bike helmet) is a smart move, especially if the snow is icy or the hill is crowded. Protecting your head is the most important part of being a pro sledder.
Key Takeaway
Pick a sled based on your speed goals and dress in waterproof layers to stay warm and dry.
Test Your Knowledge
Which type of sled is best known for its ability to spin while descending?
Not every snowy mound is a safe sledding spot. Your first mission is to look for a hill with a clear path. Avoid areas with trees, large rocks, or fences. At 15 miles per hour, even a small sapling can become a dangerous obstacle. Always scout the hill in daylight first to see what's hiding under the powder.
Next, check the run-out zone. This is the flat area at the bottom of the hill where you naturally slow down. Ensure this area is long enough to stop you before you hit a road, a frozen pond, or a parking lot. Never sled toward a street, even if it seems quiet; cars cannot stop quickly on icy roads.
Lastly, assess the snow quality. Fresh, fluffy 'powder' is great for a soft landing but can be slow. 'Packed' snow or slightly icy crusts are much faster. If the hill looks like a sheet of pure glass, it might be too dangerous for beginners because you won't be able to steer or stop effectively.
Key Takeaway
Choose a clear hill with a long, safe flat area at the bottom to stop naturally.
Test Your Knowledge
What is the 'run-out zone' on a sledding hill?
Now it’s time for the launch. Position your sled at the very top of the hill on a flat-ish starting point. The safest way to ride is sitting up, feet first. This gives you the best visibility and allows you to use your legs as 'shocks' if you hit a bump. Going head-first (belly down) is much riskier for your neck and spine.
To get moving, use your hands to push off the snow on both sides of the sled simultaneously. If the snow is deep, you might need to 'waddle' a bit until gravity takes over. Keep your weight centered; leaning too far back can cause the sled to flip, while leaning too far forward can bury the front of the sled in the snow.
Once you’re moving, keep your limbs inside the vehicle. Don't let your arms or legs dangle off the sides unless you are intentionally trying to steer or brake. Keeping everything tucked in reduces 'drag' and makes you go faster, while also protecting your fingers and toes from hidden bumps.
Key Takeaway
Sit upright and feet-first to maintain visibility and protect your body during the ride.
Test Your Knowledge
What is the safest body position for a beginner to use while sledding?
Steering a basic sled is all about drag. If you want to turn left, gently drag your left hand or left foot in the snow. This creates friction on that side, slowing it down while the right side keeps moving, which pulls your sled into a leftward arc. To turn right, simply do the opposite and drag your right side.
To slow down or stop, use both feet. Plant your heels firmly into the snow on both sides of the sled. If you find yourself heading toward danger and can't stop in time, the safest move is to roll off the sled. Falling into soft snow is much better than colliding with a hard object at full speed.
Remember that 'bailing out' is a skill! If you need to exit, try to roll to the side rather than jumping straight off. This keeps your momentum moving away from the sled and prevents you from getting tangled in it as it continues down the hill. Practice your stopping 'drills' on a smaller slope first to get the hang of it.
Key Takeaway
Create friction on one side to turn, or use both feet to come to a controlled stop.
Test Your Knowledge
How do you steer a sled to the right?
The ride down is fast, but the hike back up is where the real work happens. The golden rule of sledding etiquette is to walk up the sides of the hill. Never walk up the middle of the 'lane' where others are sliding down. This prevents painful collisions and keeps the main path smooth and fast for everyone else.
While walking up, keep your eyes up. Watch the people at the top to see when they launch. If you see a sledder coming directly at you, shout a warning or move quickly to the side. Sledders often have limited steering, so it is usually the walker's responsibility to stay out of the way.
Finally, be a good 'trail citizen.' If you see a hole or a dangerous bump forming in the path, try to smooth it over with your boots. Sledding is a community activity, and keeping the hill safe ensures that everyone gets to have a great time until the sun goes down or the hot cocoa calls your name!
Key Takeaway
Always walk up the edges of the hill and stay alert for incoming sledders.
Test Your Knowledge
Why should you walk up the sides of the hill instead of the middle?
Track your progress, earn XP, and compete on leaderboards. Download NerdSip to start learning.