Tired of messy, pale Easter eggs?
Prompted by NerdSip Explorer #8712
Master 3 foolproof egg coloring techniques.
Have you ever dipped an egg into a cup of dye, only to pull out a pale, pastel disappointment? The secret to rich, vibrant Easter eggs isn't just about using more food coloring. It all comes down to basic chemistry and preparing your canvas properly.
The magic ingredient in almost any standard egg dye recipe is white distilled vinegar. Eggshells are mostly made of calcium carbonate. When you add a mildly acidic liquid like vinegar to your dye bath, a fascinating reaction occurs. The acid slightly dissolves, or "etches," the outermost surface of the shell.
This microscopic etching creates a rougher texture. Instead of sliding right off a perfectly smooth surface, the food coloring now has microscopic grooves to grip onto.
For a foolproof standard mix, combine half a cup of boiling water, one teaspoon of white vinegar, and about 10 to 20 drops of liquid food coloring. Let your hard-boiled egg sit in this potion for up to five minutes. The longer it swims, the bolder the color will be!
Key Takeaway
Adding vinegar to your dye bath mildly etches the eggshell, allowing the color to grip the surface perfectly.
Test Your Knowledge
What is the primary purpose of adding white vinegar to your egg dye?
You don't need to rely on tiny plastic bottles of artificial dye to get stunning results. For a more elegant, rustic aesthetic, look no further than your own kitchen pantry and vegetable crisper!
Natural dyes use the organic pigments found in everyday foods to create sophisticated, earthy tones. The process takes a little more patience but is incredibly rewarding. Simply chop up your chosen ingredient, simmer it in a pot of water for roughly 30 minutes, strain out the solids, and stir in a tablespoon of vinegar.
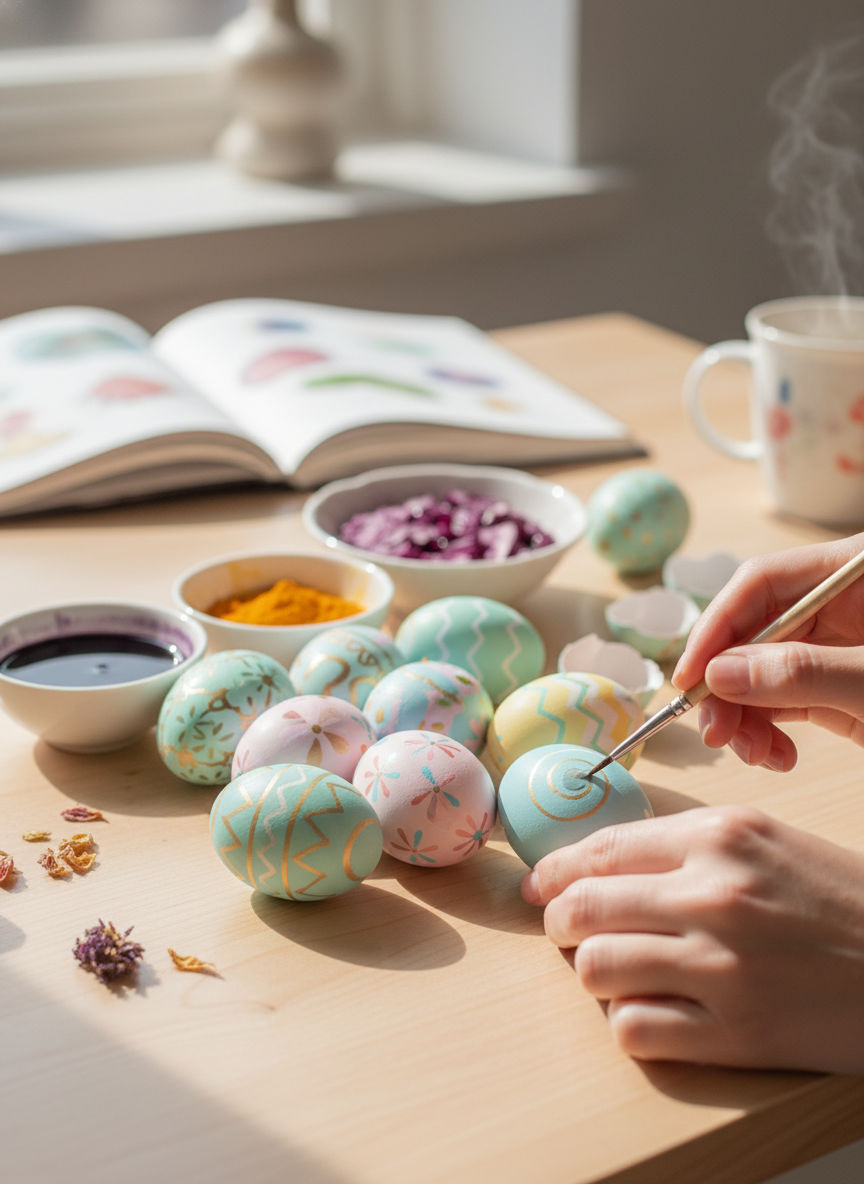
The results are beautiful, though sometimes the colors are completely unexpected! For example, simmering handfuls of yellow onion skins yields a rich, burnt orange or rust color. A few tablespoons of ground turmeric will steep into a brilliant, sunny mustard yellow.
But the most magical kitchen transformation of all? Boiling red cabbage leaves. While the hot water will turn dark purple, it will actually dye your white eggs a gorgeous, earthy shade of robin's egg blue!
Key Takeaway
Simmering everyday kitchen scraps like onion skins or red cabbage creates beautiful, earthy, and natural egg dyes.
Test Your Knowledge
If you want to dye your Easter eggs a soft blue, which natural kitchen ingredient should you use?
Want to add polka dots, crisp stripes, or hidden messages to your eggs without needing the steady hand of a professional painter? It is time to master the classic wax resist technique.
Before you dip your hard-boiled egg into any dye bath, take a simple white wax crayon and draw your design directly onto the dry, room-temperature shell. Because the crayon is white, you won't be able to see your design very clearly at first. You just have to trust the process!
Once your masterpiece is drawn, gently lower the egg into your cup of dye. Because wax and water naturally repel each other, the crayon lines physically block the water-based colored liquid from touching the shell.
The dye will seamlessly tint the bare calcium carbonate, but the areas you colored with the crayon will remain perfectly white. It is an incredibly easy, mess-free way to create highly detailed, custom patterns in a matter of seconds!
Key Takeaway
Drawing on an egg with a wax crayon before dyeing prevents color from sticking to those specific areas.
Test Your Knowledge
Why does drawing on an egg with a wax crayon create a visible pattern after dyeing?
Track your progress, earn XP, and compete on leaderboards. Download NerdSip to start learning.